Project ExplanationIn our first lesson, students will be introduced to the idea of using art to explore the world around them. They’ll brainstorm ideas of places they’ve been or want to explore, what kind of explorer they’d like to be, and what types of items they would need as an explorer. After generating their ideas/plans, students will illustrate the cover of their sketchbooks to show them as an explorer in one of the places they want to visit. For this project, students will use colored markers with water washes to create varying effects.
Later the sketchbooks will be used to document observations, planning, and reflections.
|
Documentation
|
Before beginning the brainstorming process students discussed (using a KWL) what they already knew about sketchbooks and how to use them during the brainstorming process. Students' responses were recorded on the white board to help visualize their thinking. The students said that they had used sketchbooks to: draw, plan, remember, document, and use creativity.
|
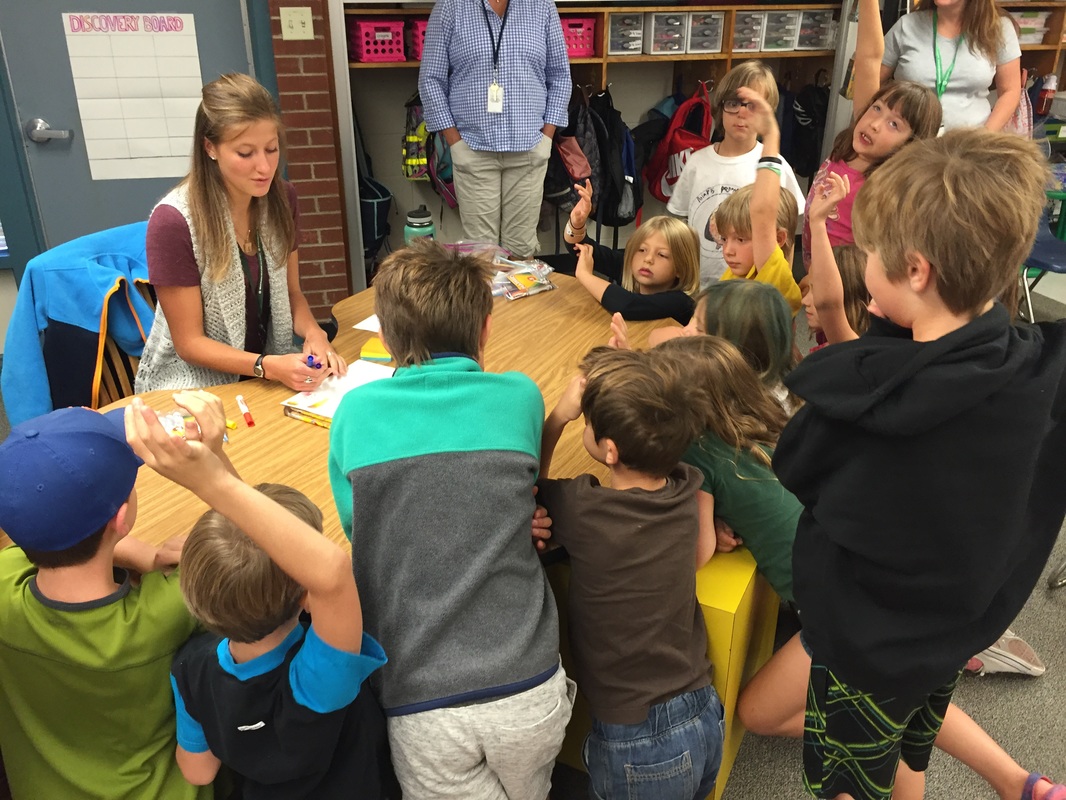
Demonstrating Marker Wash
The students gathered around the kidney table to watch the demonstration on how to make marker washes. Students were very excited and shared with us the different ideas they had on how this technique could be used. When the demonstration was over, students raced to their tables eager to try it out themselves. |
IDEATION/BRAINSTORMING
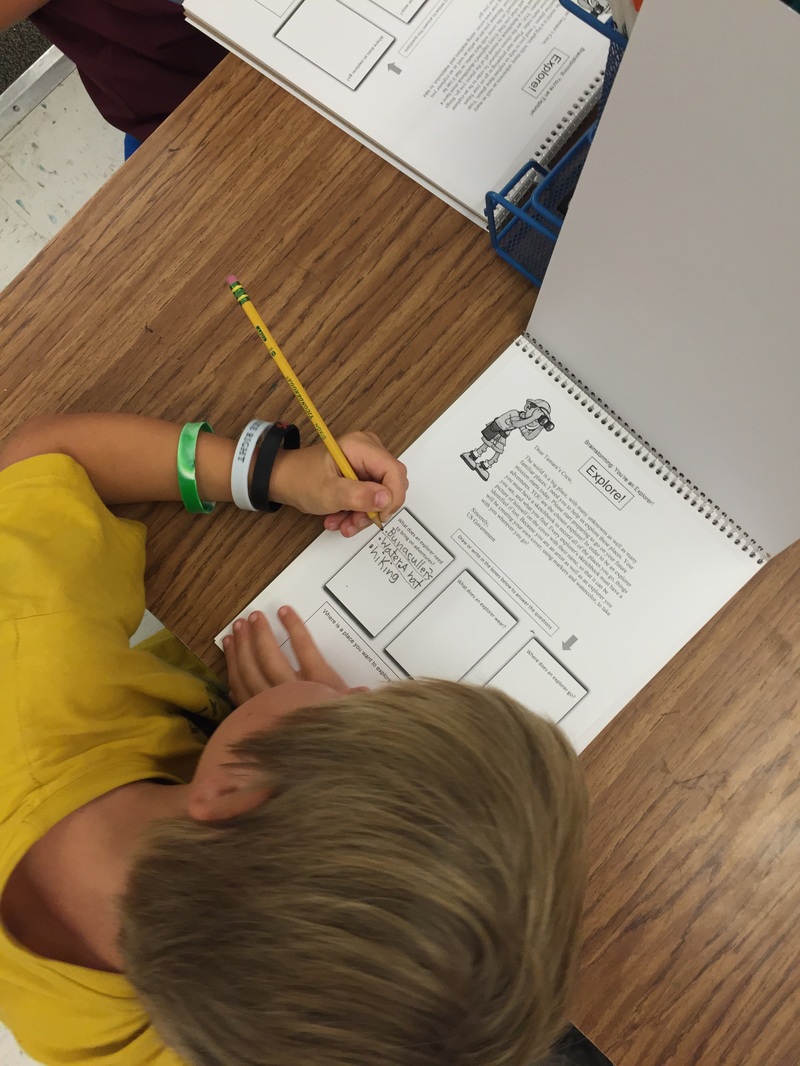
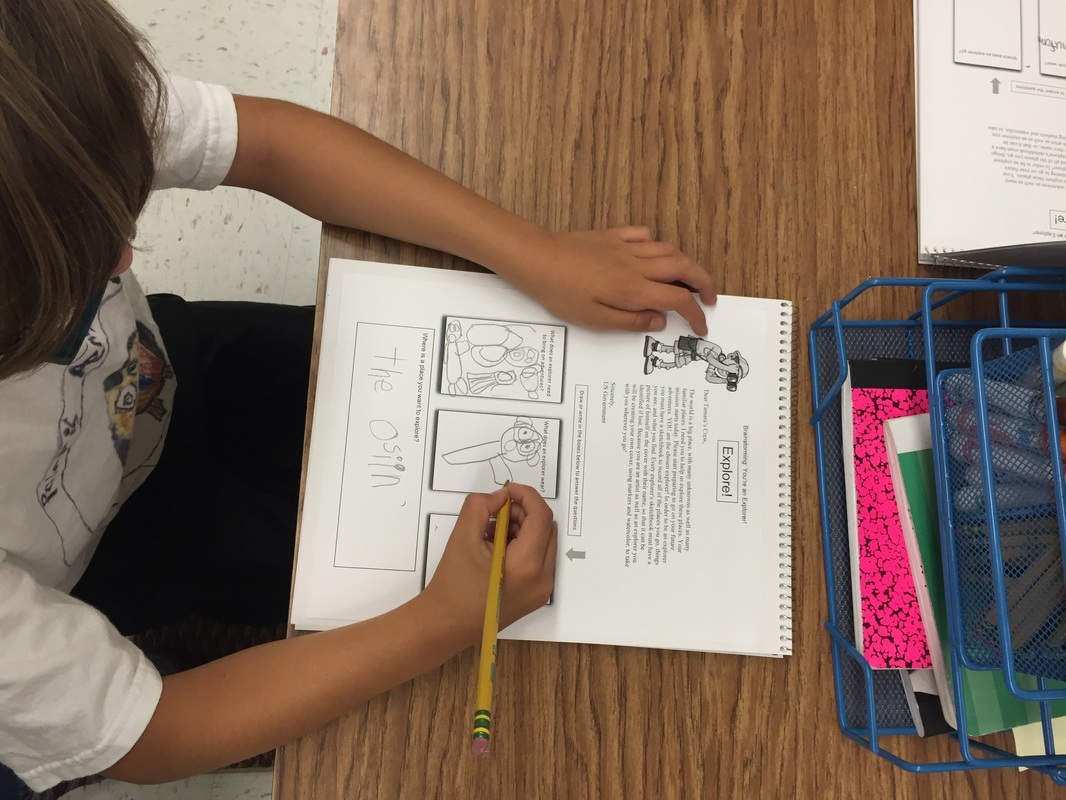
Here, students are working on brainstorming worksheets in their sketchbooks to help them with the ideation process. Some students heavily wrote out their thinking while others gravitated towards pictures. Some students even started to experiment with colors. While most students seemed to come to their ideas quickly, there were several students that struggled with the brainstorming process. They weren't sure what they should write/draw in each of the boxes and when asked what they were working on, they responded with "I don't know", or "I'm not sure". To help them along, we provided a little bit more direction by re-iterating the prompts. Things like "Where is a place you want to visit?", "What would you see there?", etc. In the case of one student, when asked what she might see in the desert, she exclaimed, "a camel!". This then became a main component of her cover.
CREATION
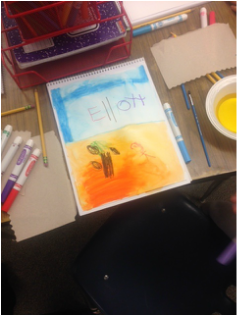
This student combined materials and stated, "Look how I can make a perfect sand color!" He demonstrated to me how he created the color by layering red and yellow and then blended it with the water and paintbrush.
|
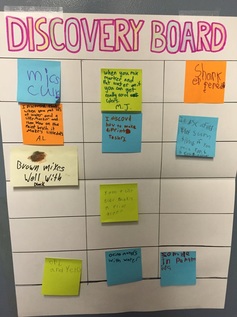
Students commented on their learning by recording their own discoveries on the discovery board. As the classes continue they will gather their thinking on the board so that they can visualize all that they have learned.
|
|
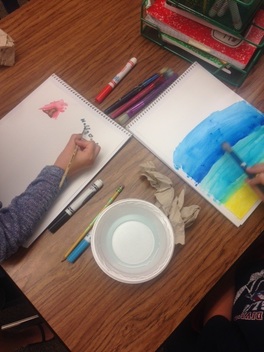
On the right side of this picture we can see a student blending two colors of blue together. In the brainstorming phase he experimented with this idea of blending. When I asked him what he was doing he explained to me his observations about water. He said, "As the water gets farther away it gets darker because it's deeper. The water close to the sand is lighter because it's not as deep."
|
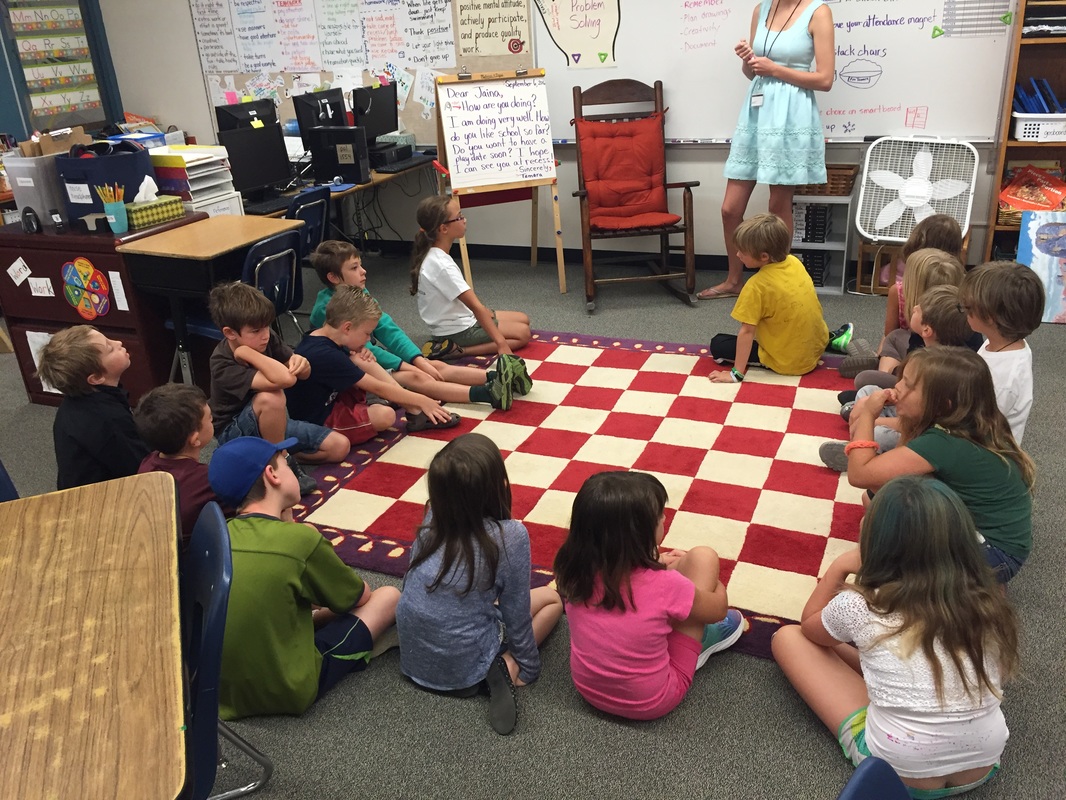
Discussion/Reflection
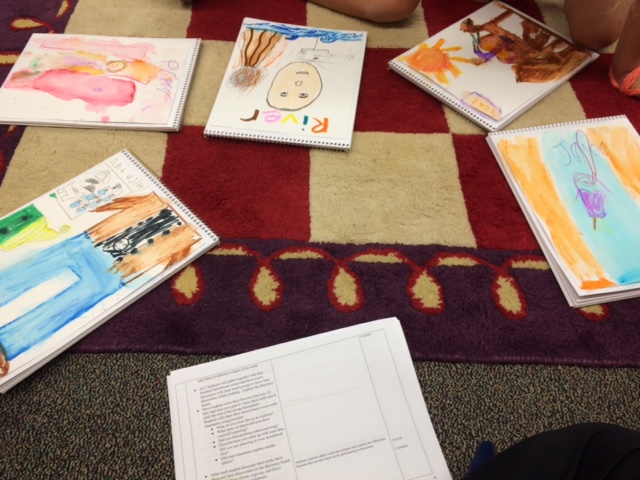
In small groups of six, the students discussed their cover drawings and shared discoveries they made throughout the making process. Referring to the brainstorming worksheet, one student said, "it helped me think of what I wanted to put in my drawing." Another said that they already knew what they wanted to draw, but that it let him practice with the markers. Students also talked a little bit about the marker and wash process. One student described a discovery he made; "I put two colors next to each other and used water to make a new color."
